Whether large or small, every drill bit will get dull after some time of normal use. Using a drill bit with blunt edges is not an efficient way of working, as the dullness makes the work more difficult and longer, may cause accidents which can damage the material being worked upon, and may even lead to serious injuries. This is why you must ensure your cutting surfaces are always in the best condition to make your work faster, and neater. In this piece, we will talk about how to sharpen the cutting edges of a drill bit. While there are different types of bit tips, let’s take a look at how to sharpen a chisel-tipped drill bit.
A drill bit comes with two cutting surfaces, placed side by side on its center, with both cut at an angle 60 degrees.
If you check a chisel-tip drill bit, you will find that the angleed surfaces also have another plane which is the result of cutting them at a very narrow angle. It is this plane that forms the cutting edge of the drill bit, and a space between the drill bit and the metal being drilled so that the metal doesn’t impede the movement of the bit, thereby reducing friction and drag. This is known as the relief area plane
The helical groove on the drill bit is known as a flute. It helps to channel the cut material out of the hole created as the drill bit works.
When you want to sharpen the drill bit, you sharpen the two angled area that creates a space between the metal and the drill bit, i.e., the relief area plane. You must ensure both planes have the same angles to maintain the consistency of the drill bit after sharpening. You will expose the cutting edges to the drill bit grinder to remove a small amount of metal from the two surfaces.
After arranging your grinder for the task, then insert the dull drill bit in a screw. Now, brace the mandrel against the bench pin and position the bit on the relief angle for sharpening.
Now, carefully lower the separating disk of the grinder so that it makes contact with the area to be sharpened. Do the same for the opposite relief area angle without changing the angle. After completing this process, your drill bit is now sharpened and can take on new tasks.
If you are working with a large bit, you may have to use a bench grinder. A bench grinder usually has two surfaces for grinding drill bits. One surface is coarse, and the other is fine. If your drill bit has taken a heavy beating, you will need to use the coarse surface to grind it thoroughly. But if the drill bit is not so dull, you may only need some gentle grinding which can be done with the fine surface of the bench grinder. The technique is the same for large or small bits. You want to remove some metal from the dull surface of the relief angle in a consistent manner.
While it may take some time to become proficient at this, constant practice will make you a master drill bits grinder in no time.
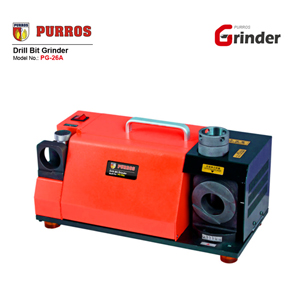
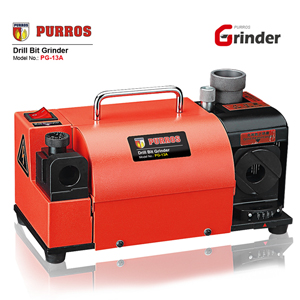
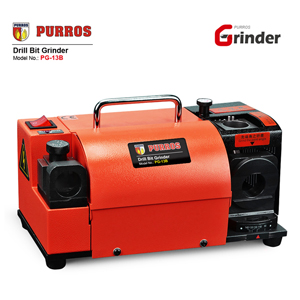
Now, the portable drill bit grinding machine produced by PURROS can finish the grinding of the bit simply and quickly. If you have a machine like this, you don’t have to worry about the lack of skilled repair technology.


